Project rules allow automatically assigning worked time to a specific project based on the context detected on the user's device.
Through configurable conditions, the system identifies the environment in which work is being done (application, window, URL, folder, etc.) and links the activity to the corresponding project without the need for manual selection.
How the rules work 🔗
The rules follow a conditional logic:
If a condition is met → then a project is assigned.
Example:
- If the window title contains “Google Chat”
- Then assign project “Support”
The system continuously evaluates the detected activity and applies the first rule that meets the configured condition.

How to create a rule 🔗
To create or edit a rule:
- Go to Settings > Projects > Project Rules.
- Click Edit rules.
- Add a new rule.
- Select the type of condition.
- Define the operator (for example, “Contains”).
- Enter the value to detect.
- Select the project to be assigned.
- Save the changes.
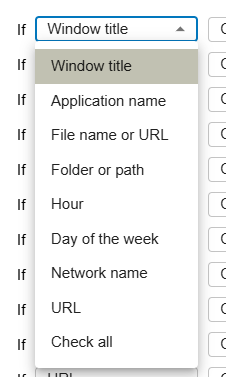
Available condition types 🔗
You can create rules based on the following criteria:
- Window title: Detects the visible text in the active tab or window. It is the most used option.
- Application name: Identifies the program being used (e.g., Excel, Outlook, Chrome).
- File name or URL: Allows detecting specific documents or web addresses.
- Folder or path: Useful when working in local environments or client folders with a defined structure.
- Time: Allows activating projects based on time slots.
- Day of the week: Automatic assignment according to the configured day.
- Network name: Detects the network from which you are working (useful to differentiate office / remote).
- URL: Recognizes domains or specific parts of web pages. Avoid including https://.
- Any field: Allows applying broader conditions by combining different parameters.
Note: The most used option is: Window title + Contains
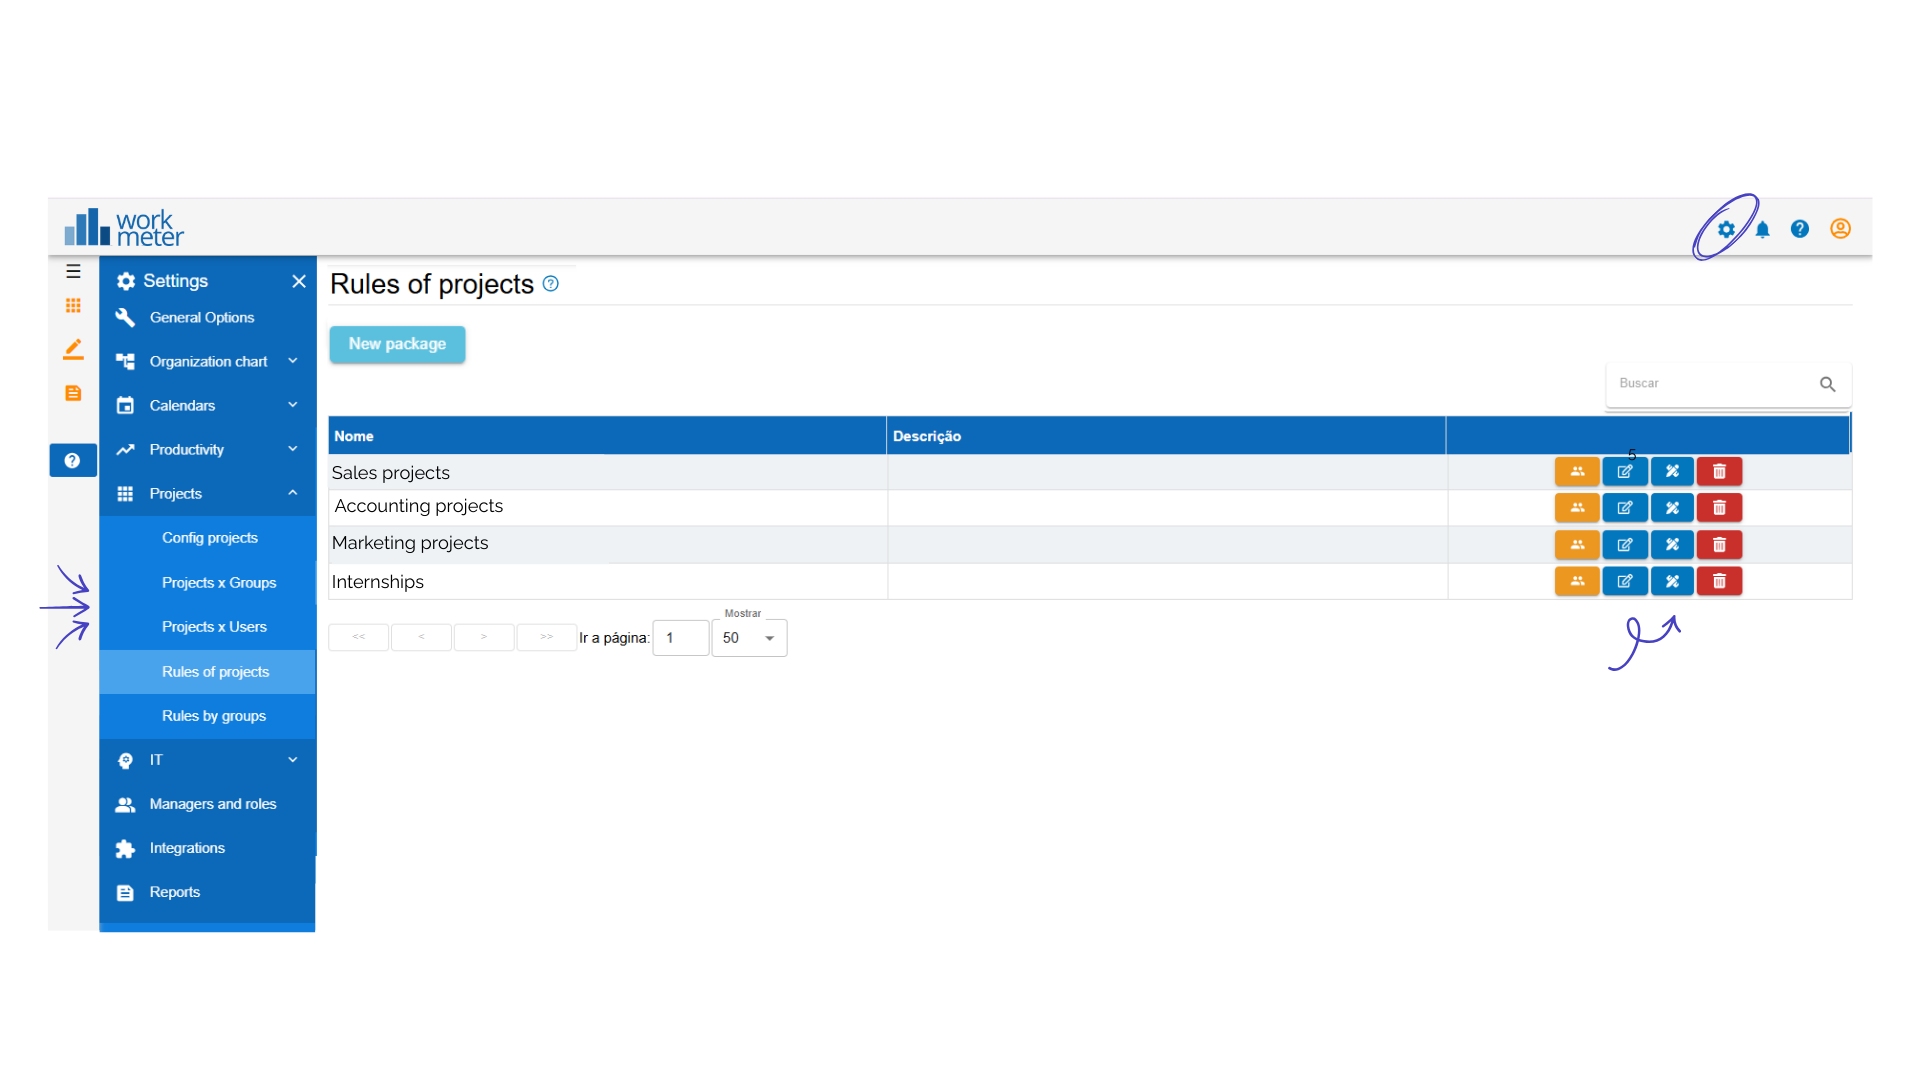
Rule priority order 🔗
Rules are evaluated in the order they appear in the list.
The first rule has higher priority.
You can change the order using the following buttons:
Icon 1.Move to the top (highest priority)
Icon 2.Move to the bottom (lowest priority)
Icon 3.Move up one position
Icon 4.Move down one position
Icon 5.Delete rule
If a rule is marked as “Stop”, when it is met:
- The project is assigned.
- The system stops evaluating the following rules.

Assigning rules to groups 🔗
Rules are not assigned to individual users, but to groups. To assign them:
- Access the rule.
- Click Assign to groups.
- Select the desired groups.
- Save the changes.
All users in the group will automatically inherit those rules.

Rules in cloud environments (Drive, SharePoint, etc.) 🔗
When projects are managed in cloud folders, the URL usually contains a unique identifier for the project or client.
There are two ways to automate detection:
Option 1: Direct match
Create a rule that detects a specific code in the URL or title.
Example: If the URL contains “4587X” → assign project “Client A”.
Option 2: Regular expressions (Regex)
If projects follow a common pattern (for example, combinations of letters and numbers), a regular expression can be used to automatically detect that format.
This option is more advanced and recommended for environments with a large volume of projects structured by codes.
Example: 4 letters + 4 numbers, ALIC4587, MRVA1234, ATRA9821