In the tool's sidebar, we can expand the "Projects" section and access Event Log. The event log allows you to see all the events that have taken place in a specific project.
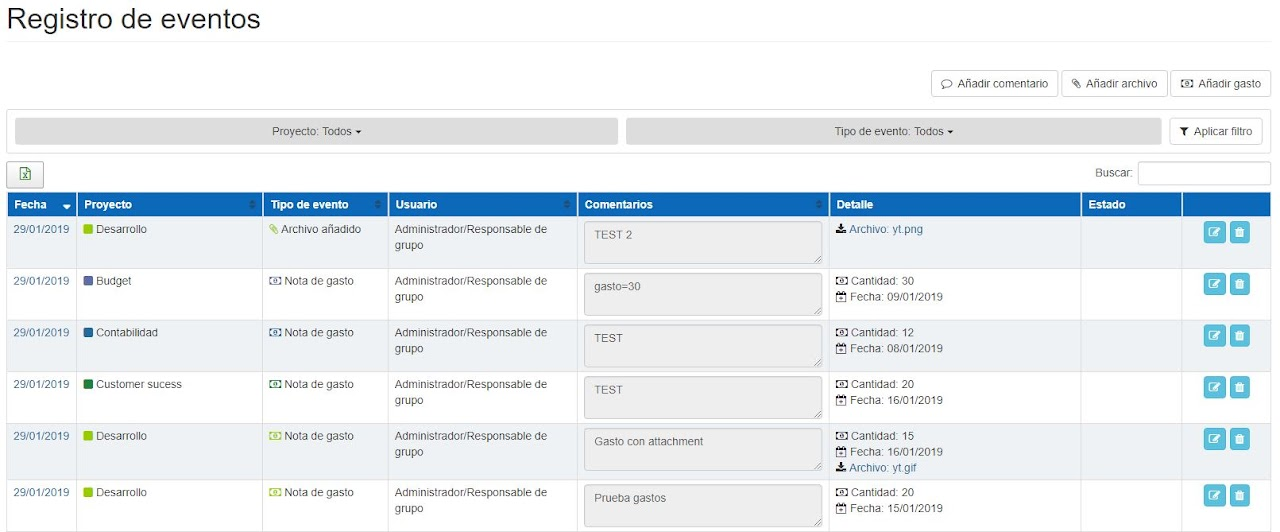
If our permissions are Administrator, the panel we will see is the following:
If our permissions are Employee, the panel we will see is the following:
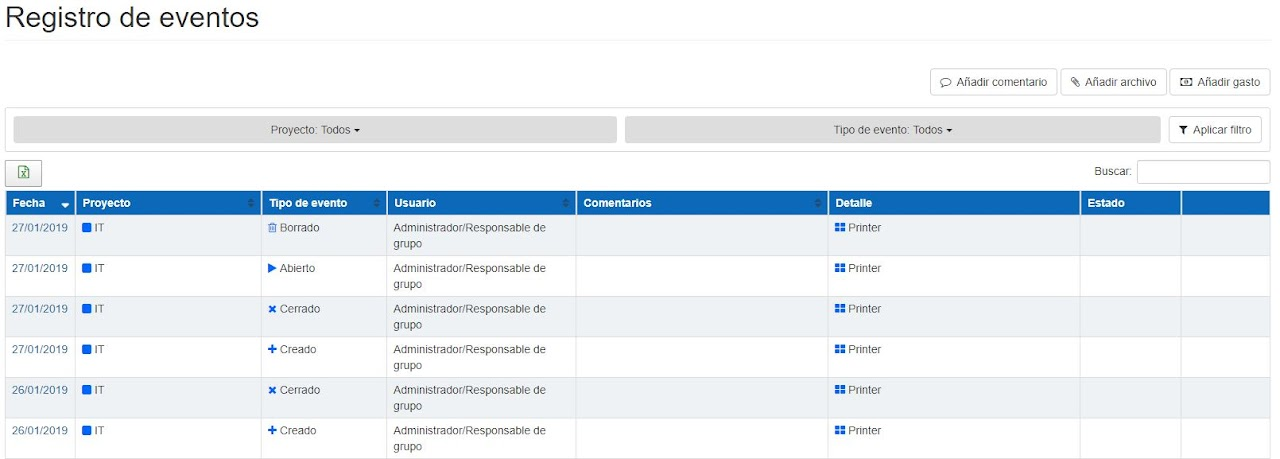
Depending on the permissions we have, we can see:
- Projects/Tasks/Subtasks: We can see when they have been created, deleted, closed, or opened.
- Comments: list them and add, edit, and delete.
- Files: list them and add, modify comments, delete.
- Expense notes: list them, add, modify values, and delete
As an Administrator, we can see all existing events and projects, while as an Employee we can only see those assigned to us. Both Administrators and Employees can add comments, files, expense notes, and apply filters.
Filters 🔗
We can filter by one or several projects and by one or several types of events. To filter, we just have to click the following panels and choose the project and the type of event we want. Once done, we click Apply filter.

The Event Log panel can be filtered by dates in the upper right corner, but not by people or departments.
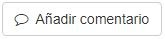
Add Comments 🔗
If we press the button located at the top right of the screen, we can add a comment to any project we want. When clicking the button, the following popup appears.
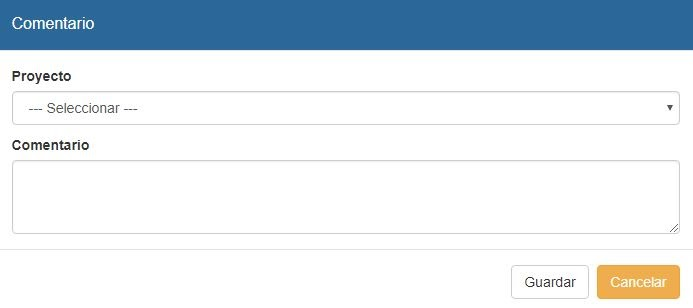
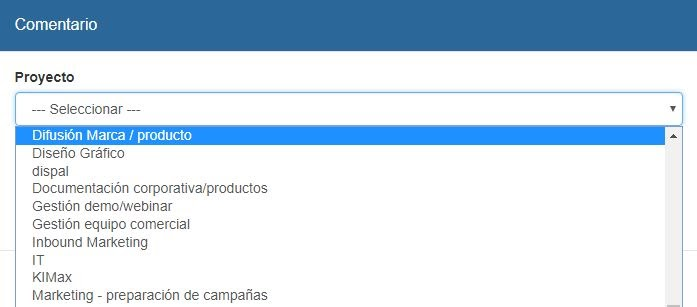
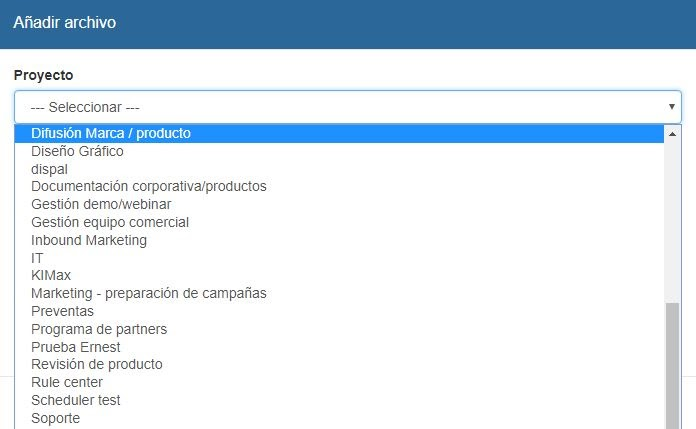
In the Comment box, we write whatever we consider. To indicate which project we want to place the comment in, we open the Project dropdown and select the one we want.
Once this is done, we press Save and our comment will have been successfully published. Comments can only be added to projects, not to a specific employee. If we add a comment and want to see it immediately, we must set the date filter to today.
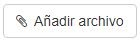
Add file 🔗
If we press the button located at the top right of the screen, we can add a file to any project we want. Clicking the button will display the following popup.
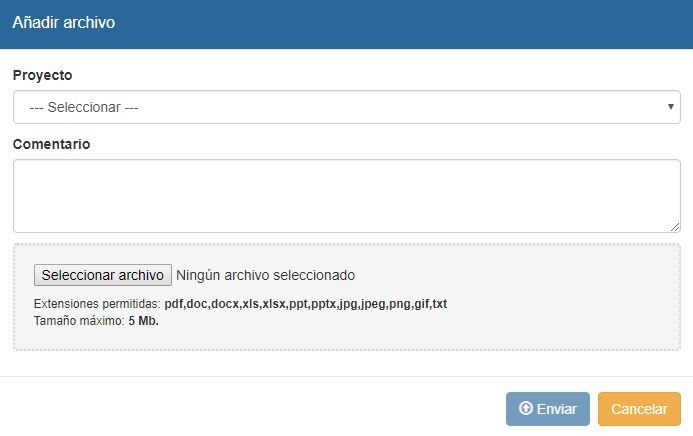
To indicate which project we want to place the file in, we open the Project dropdown and select the project we want.
Once this is done, we click Send and our file will have been successfully published. Files can only be added to projects, not to a specific employee. The maximum allowed file size is 5 MB. The allowed file formats are PDF, DOC, DOCX, XLS, XLSX, PPT, PPTX, JPG, JPEG, PNG, GIF, and TXT.
Add Expense 🔗
If we click the button located at the top right of the screen, we can add an expense note to any project we want. Clicking the button will display the following popup.
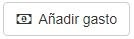
We can select the project in which we want to enter the expense note by clicking on the Project dropdown. In the Expense Note section, we enter the amount of our expense, and in the Date panel, the specific day of the expense. We can also add a comment detailing the expense, and a file up to 5MB. The valid formats for this file are PDF, JPG, JPEG, PNG, and GIF.
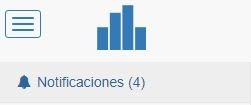
Once this is done, we click Send and our expense will have been successfully submitted. Expenses can only be added to projects, not to a specific employee. Pending expense report validations will appear in the Notifications section, located in the side panel, where they can be accepted or denied.
We can set a specific amount from which an expense report requires authorization from the Administrator or Administrators. To do this, we just have to go to the Settings > General Options section located in the tool's side panel.
In the next section, we enter the amount from which authorization is required, and click Save.
