The activity editor is used to enter offline activity on past days with information that has not been automatically collected by the tool. For example, adding offline activity times such as meetings, sales visits, and basically any offline activity carried out outside the PC.

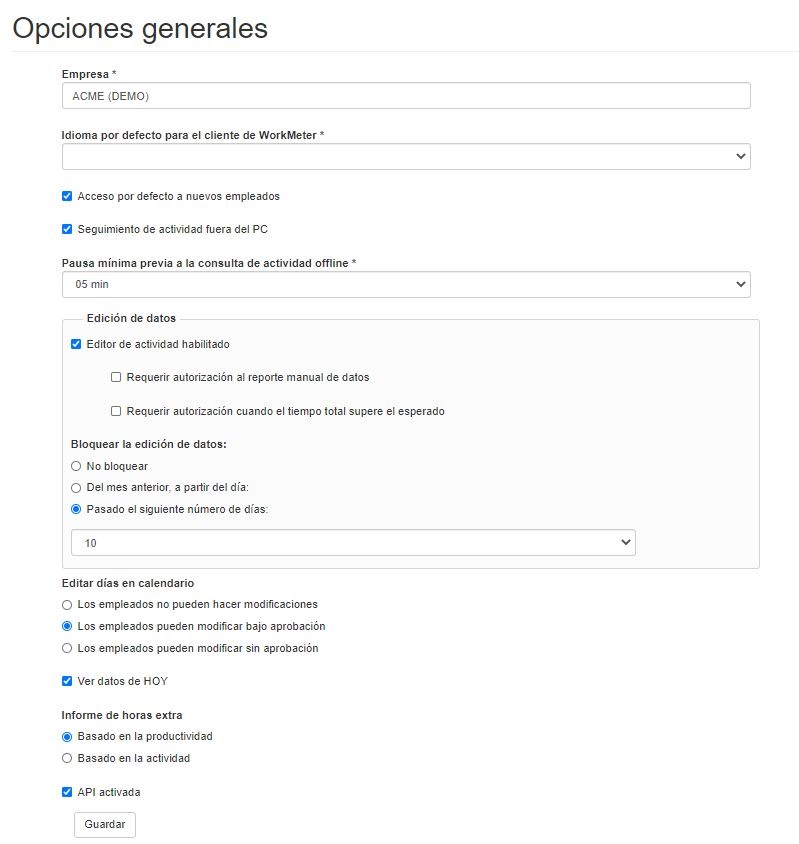
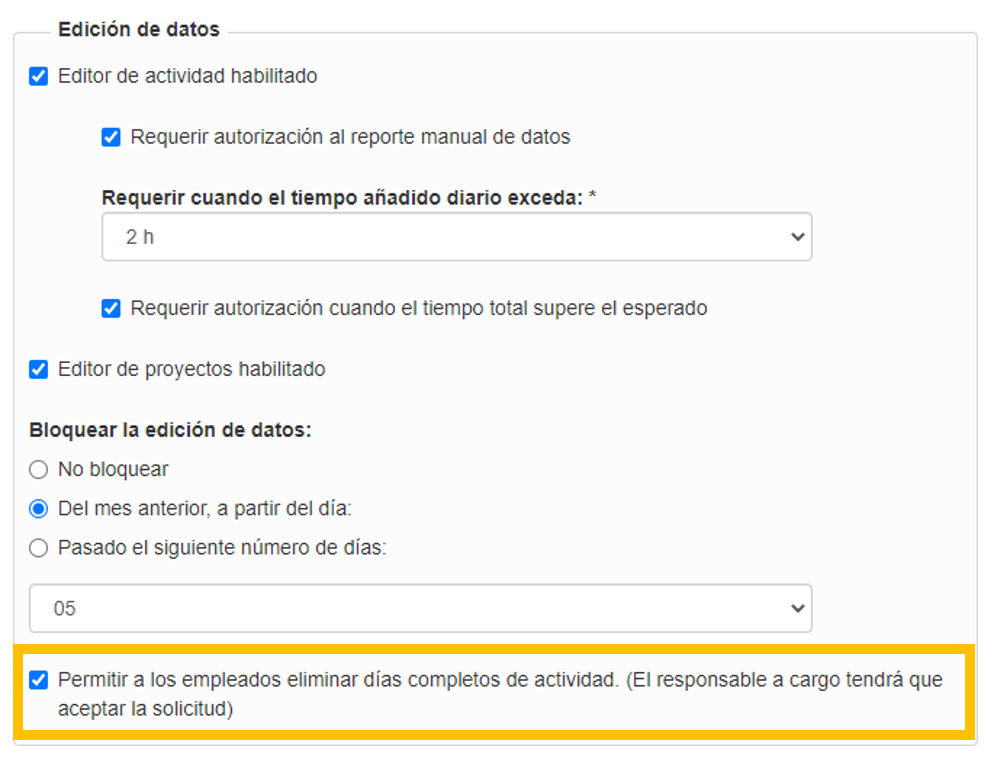
The administrator can enable or disable the activity editor in the Settings > General Options panel and check/uncheck the “Activity editor enabled” box located within the "Data editing" section. The administrator can also decide the lock period for data editing, that is, the time the employee has to edit their activity. They can choose not to lock it by enabling the "Do not lock" box, decide to lock it with a one-month period by enabling the "From the previous month, starting on day" box, or select a specific number of days by enabling the "After the following number of days" box. For the last two options mentioned, at the end of the boxes, the administrator must expand and select the number of days, as appropriate.
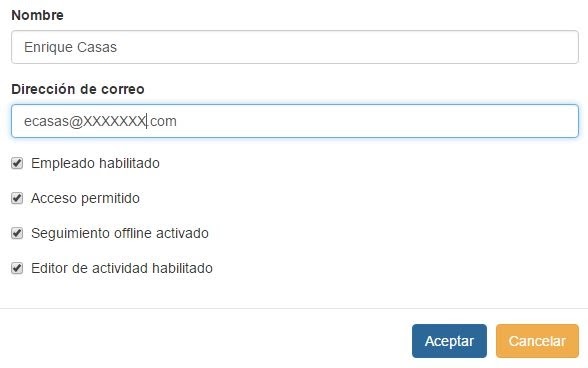
By default, the activity editor is always enabled for both the administrator and employees. Once activated for the entire company, you must ensure that the employee has the option to access their data enabled and activate the editor for them. Remember that ONLY permission can be granted at the employee level and NOT at the group level.
If you want to limit access to the editor to certain profiles in your organization, you can disable it in employee profiles under Settings > Organizational Chart > Employees and check/uncheck the “Activity editor enabled” box within each employee’s record.
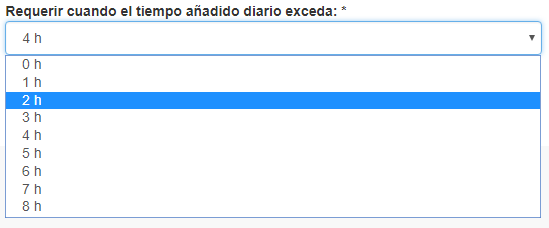
In the Settings > General Options panel, there is an option called "Require authorization for manual data reporting." This allows configuring a maximum editing time after which the employee’s manager who adds that time will have to approve or deny the addition. If the employee makes several activity additions on the same day, the time will accumulate and, when it exceeds the limit, approval from the manager will be required. By default, this option is disabled.
How the activity editor works 🔗
Thanks to the activity editor, you can add offline activity and complete the previously collected information.
It is important to note that reporting activity will only be allowed within time ranges that do not contain previous activity, as it is not possible to modify activity that has been automatically recorded.
The activity editor works based on the date and employee filter located in the top right corner of the software.
- If you are an employee, you only need to select the date range in which you want to add activity using the editor
- If you are an administrator, in addition to the date range, you must choose the employee for whom you want to increase activity
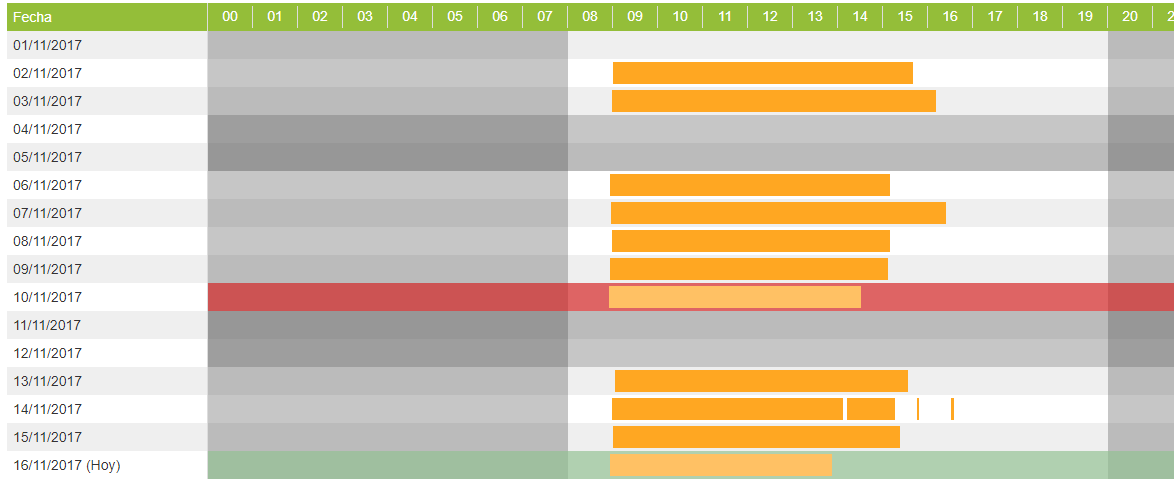
Once you have selected a date range and a specific employee (if you are an employee, the date range alone is sufficient), click on the “Activity Editor” panel in the left menu to access the visual schedule summary.

The green shading indicates the current day, which can be modified as long as no previous activity has been detected and only up to the previous full hour. That is, if activity started being recorded at 13:13, it can only be edited up to 13:00. But if previous activity was detected on the current day, the workday cannot be modified. When changes have been made and new data is being processed, the current day is also locked.
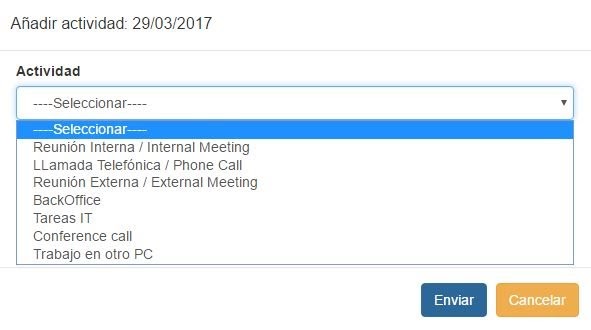
To add activity on previous days, simply click outside the orange area of the day you want to modify and you will see the following window:
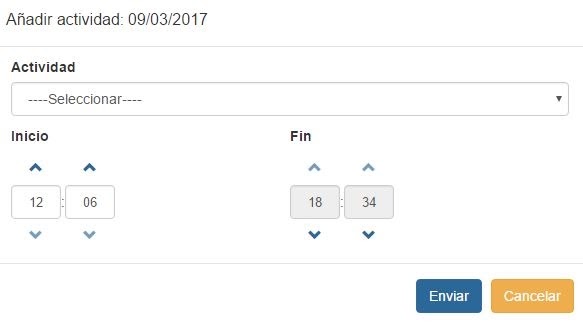
Select the type of activity you want to add as well as the start and end times of that activity. Finally, click the “Submit” button.
You will return to the visual schedule screen with the changes you have made highlighted in a red block. You can continue adding additional information for the other days you want to modify. Once you have finished editing data, press the “Apply changes” button so that the system processes the new information on the server.
Important notes to keep in mind:
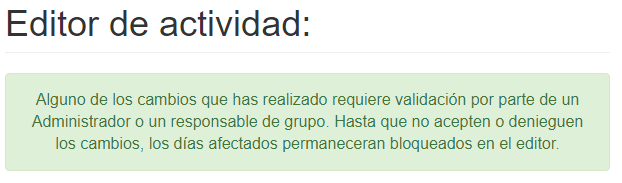
- 1. If activity times exceeding those configured by the manager are added, prior approval from the manager will be required. A bright red color means that the edit is locked and pending review by the manager, while a lighter red color indicates that it is validated but the tool has not yet processed it.
You will return to the visual schedule screen with the changes you have made in a red block. You can continue adding additional information for the rest of the days you want to modify. Once you have finished editing the data, press the “Apply changes” button for the system to process the new information on the server.
To see the process more clearly, let's look at an example:
The employee Enrique Casas wants to report a meeting with a client that took place on February 22, 2021, and since it was offline activity, the tool did not capture it. The software automatically collected all the activity of that day with the computer, including his lunch break. Enrique returned to work after his lunch break at 2:45 PM until he had to go visit the client from 2:00 PM to 5:32 PM.
Enrique decides to use our activity editor.
To do this, he accesses the tool and selects the “Activity Editor” panel. In the date filter, he selects the day of the meeting (February 22, 2021).
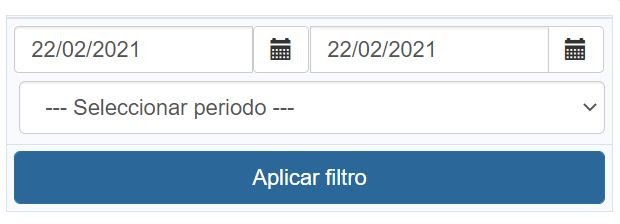
Then he clicks on the gray area of the day and fills in the fields with the information about the business meeting he had and clicks “Accept.”

Now the new information Enrique just entered about the business visit appears drawn with a red block. Since he does not plan to make any more changes, all that remains is to press the “Apply changes” button to process all the information.

In the "Activity Editor" option, you can also delete a workday to correctly edit the dedicated working hours. In Settings > General Options, you will find a new option to grant editing permission: “Allow employees to delete entire activity days. (The person in charge will have to approve the request)”
If the permission is enabled, it will be possible to delete starting from the previous day; it will not be possible to delete the current day. The manager or administrator will always have to validate it from their Notifications panel. The employee can edit their activity from their profile by going to "Activity Editor," selecting the day, and clicking the icon next to the date to delete it.

Edit projects 🔗
In this panel, you can modify your project times and assign them to different ones
Thanks to this WorkProject panel, it is now possible to redistribute time from one project to another and make necessary changes that reflect a scenario as close to reality as possible. To start, you have two different viewing types: by month and by day:
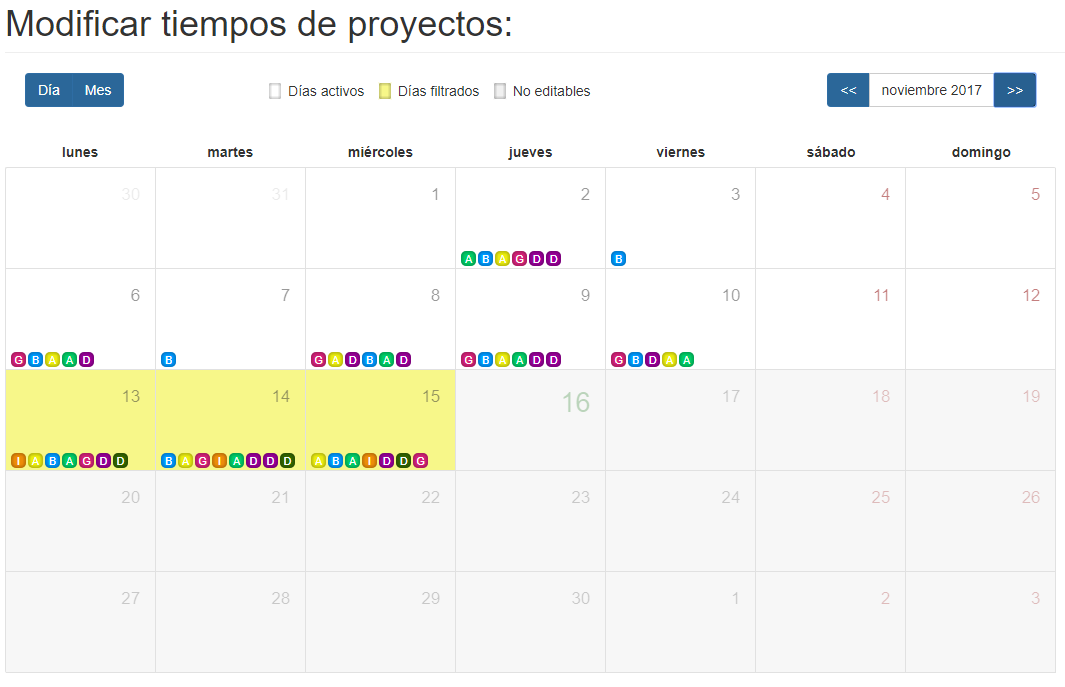
To transfer time from one project to another, first select the day on which you want to make the change to switch to the day view. In this view, each row represents a full working hour and shows you all the projects you have had active during that time slot. Click on the project you want to make changes to, and the following window will appear:
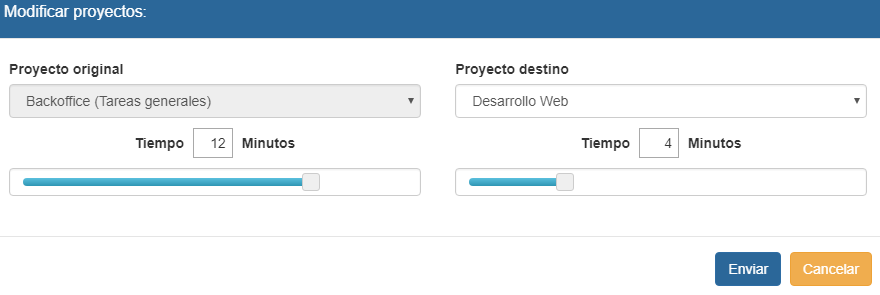
Here you must select from the total time of the original project how much time you want to transfer to the new project. To do this, select the appropriate one from the dropdown and fill in the box with the new information (you can also use the bottom bar and drag it left/right to see the changes in real time).
When you agree with the configured scenario, just click "Send" to save the changes.