Getting started
- You must enter the following address in your smartphone’s browser: https://timework.workmeter.com/MyApp/ We recommend that you add the link to your favorites or bookmarks so that you can access it immediately next time.
- Once inside the tool, press the "Start activity" green button to begin recording your workday, so WorkMeter will start collecting activity.
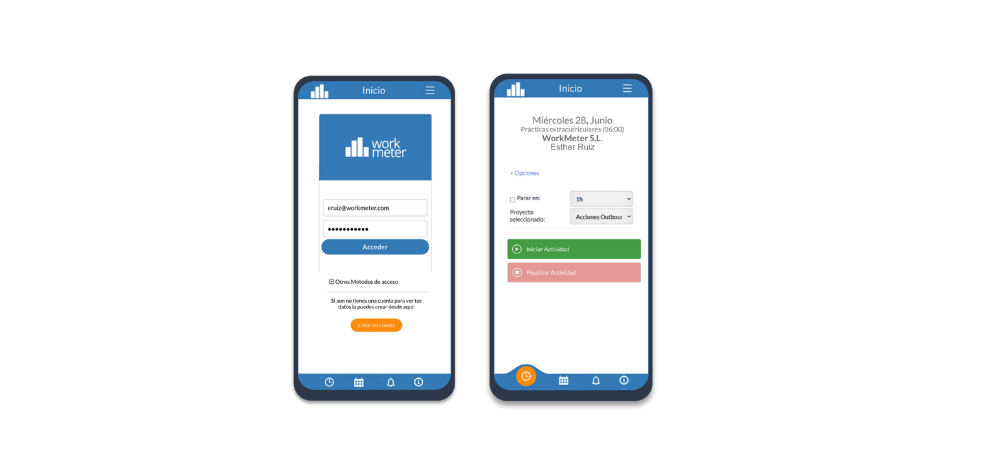
- Next, you will see the timer start running.
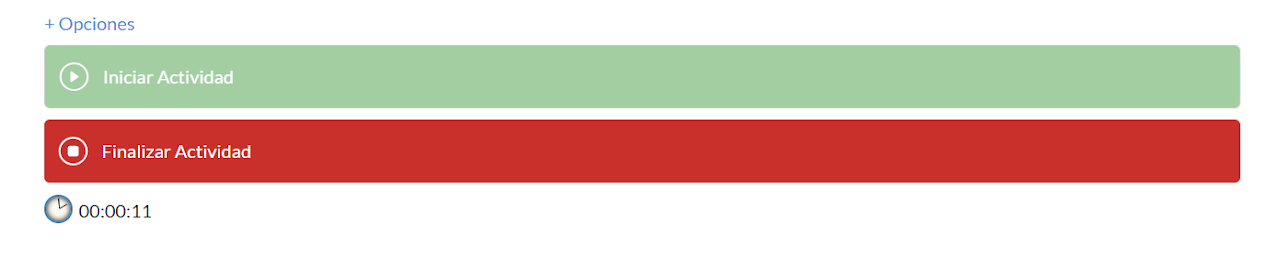
- When you want to stop recording the activity, press the End activity red button so the software stops collecting information.
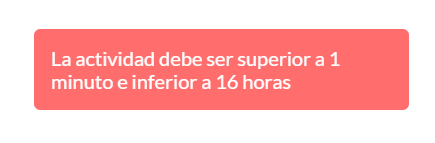
Remember: to correctly register your activity it must be longer than 1 min and less than 16 hours:
Other resources
There is a dropdown called "+Options" where you can choose the project for which you are registering the activity. You will be able to set the time to stop recording that activity.
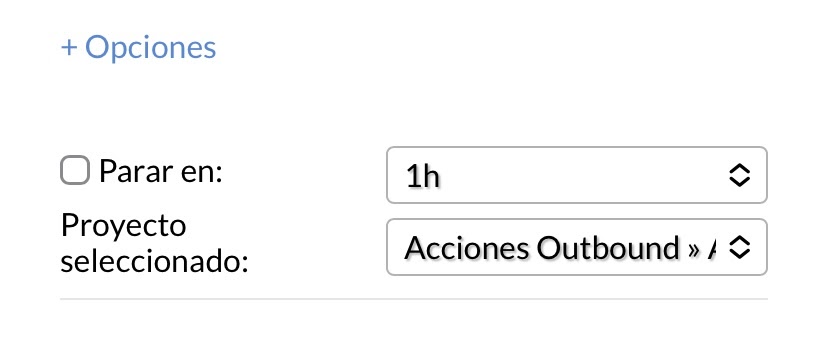
Remember: To change projects you must finish the activity and start a new registration.
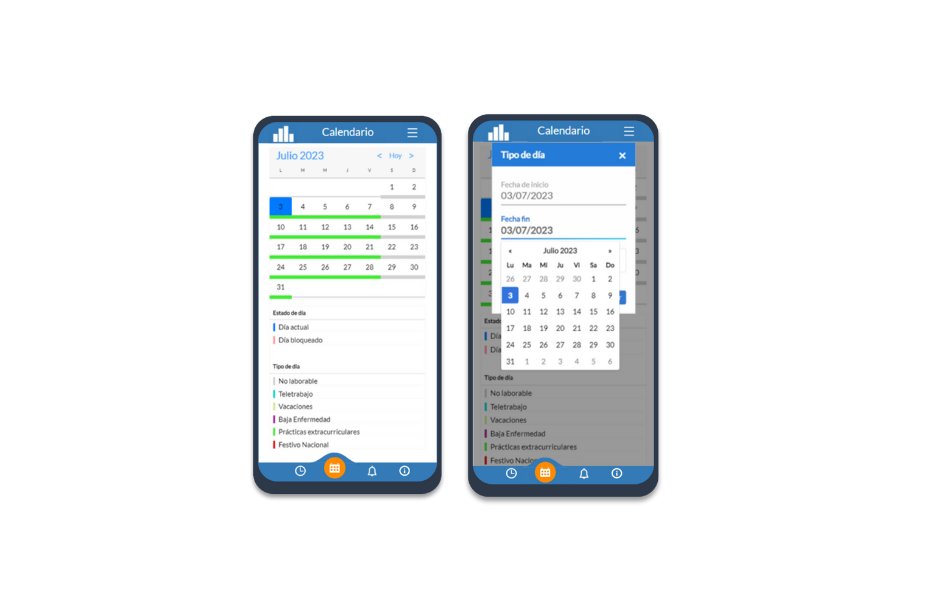
Through My App, you will have a personal calendar where you can check both the status of the day and the type of day assigned (for example: working day, holiday, vacation, telework, among others).
In addition to viewing this information, you will also have the possibility to edit and customize your calendar, modifying the type of day according to your needs. These modifications can be made in the following ways:
- A specific day
- Half a day
- A date range: To select a range, just click and drag over the desired days. It is important to note that changes applied to a range will only affect the current year, they do not apply recurrently for following years.
If your organization's general settings include the option of editing with approval by managers, the changes you make will remain pending validation. In these cases, the affected days will keep their previous type until the manager approves them.
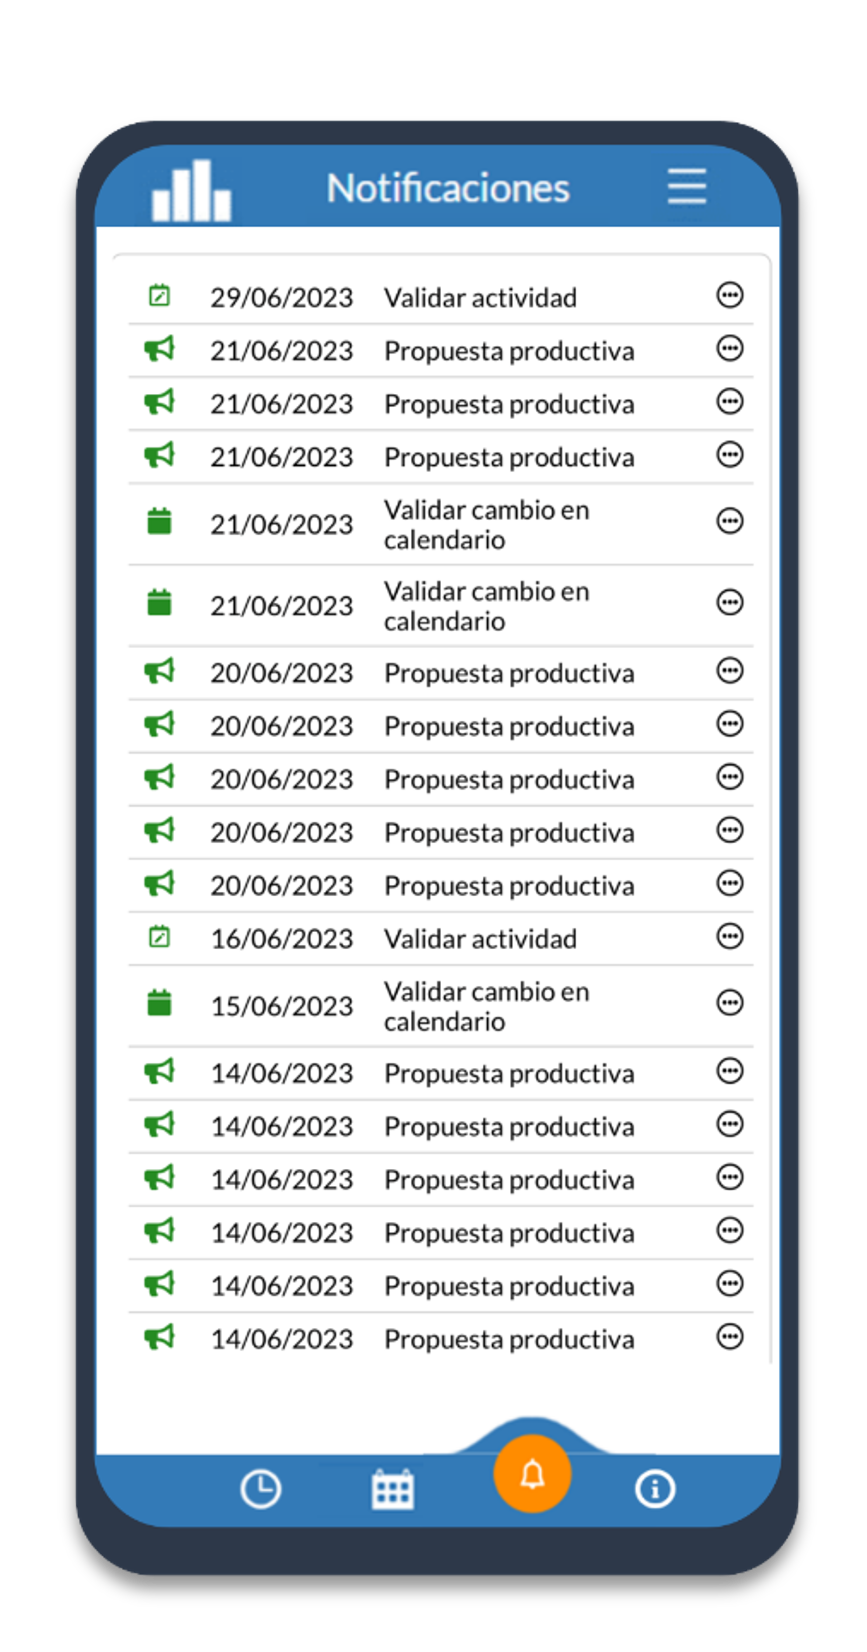
In the notification panel section, you can check all the requests and changes you have made in your calendar (such as vacations, teleworking, holidays, etc.).
From here you can see:
- Notifications pending approval from your manager.
- Requests that have already been approved and applied.
This panel helps you track the status of your requests, avoiding confusion and ensuring you are always informed about the current status of your edited days.
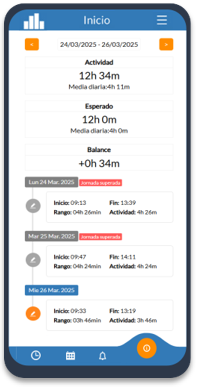
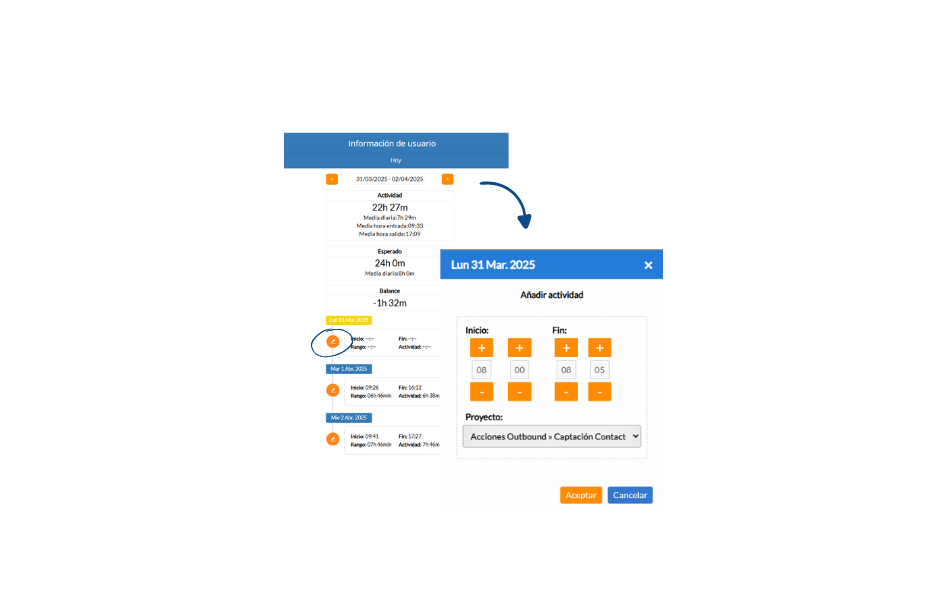
The User Information panel provides a detailed and updated view of the work activity recorded by the user. From this section, it is possible to consult information for the current day, as well as a weekly and monthly summary.
This panel shows the following data:
- Registered activity: Total effective working time recorded.
- Expected time: Duration according to the assigned workday.
- Balance: Difference between the expected time and the time actually worked.
From this same panel, the user can access the activity editor, a tool that allows:
- Adjusting the start and end time of the workday.
- Divide time into time slots.
- Assign each activity slot to one or more available projects.
- Add activity manually to reflect the actual work done.
Note: This action requires validation by your group manager.
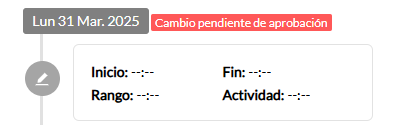
To edit today's activity, click on the orange edit icon next to the activity slot. Doing so will open a window where you can:
- Modify the start and end time.
- Select the project corresponding to the time worked.
To save the changes, click Accept. If you prefer to cancel the edit, press Cancel.
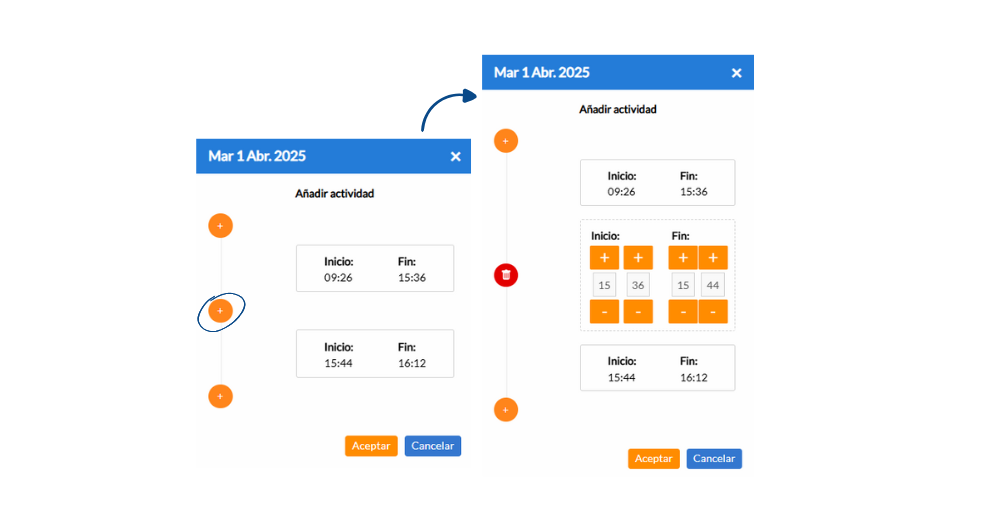
If you want to add a new activity slot on any day, click the “+” button located on the timeline. This will display a new editable block where you can manually enter the desired slot.
To edit an existing slot, click again on the corresponding orange edit icon. You can adjust the hours using the increment (+) or decrement (–) buttons.
If you need to delete a slot, click on the red trash can icon that appears next to the record.
Important notes to keep in mind:
- All collected information is considered productive activity
- The data appears in the applications panel as "MANUAL_REPORTING" and from the device "ManualAPP"
- For employees to report activity from their mobile device, a client code must be created in the Settings > IT > Mobile Access section.